Loading
DIY For the Home Means You Save Money
Buying a home is a great way to increase your personal value and individuality. When you sign your name to that 300 page document called a mortgage agreement, somewhere between those inked filled pages you also signed up to be a plumber, electrician, carpenter, and gardener, also known as a DIY warrior. Granted not all home owners do home improvement, but if you plan to stay in the home and don't have buckets of money in the shed you should probably get use to the list of chores that the average home owner has to take on. DIY was always appealing even when I lived in an apartment, but not always my first option before the required tools acquired and the knowledge desired.
DIY Home Repair Saves you Money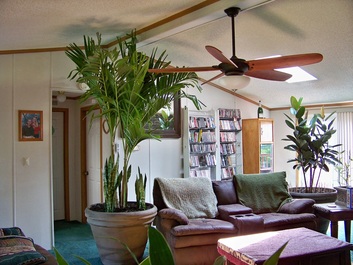
When it comes to saving money the top three picks for most American's is the gas bill, electric bill, and REPAIRS!! The more you buy, update, and replace the more repairs that line up for future DIY projects. Whether you spend $300 or $3000 on a refrigerator the icemaker is probably going to break before year three. Calling the repair man for $75 to tell you it will cost $700 to fix has been happening for years... happened to me last year (one year warranty on a $1500 GE fridge) then found the same fridge on sale for $900. I found these parts for half price on AppliancePartsPros.com. Also check eBay and Amazon who carries various appliance parts. I replaced the heating element and motherboard on a dishwasher for $50 as well as the receiver box in my ceiling fan for $20 on eBay. I also replaced the vent fan in my over the range microwave. These appliances were less than three years old and were fixed for less than what it cost the repair man to give me an estimate. When it comes to replacing certain parts, often times you'll get lucky by emailing a company the product information and they will send you a replacement free. This was done several times on a commercial mower and once for a soap bottle that broke off a Moen faucet. Repairs are costly when someone else does them. Do homework online and call the product help line to figure out the problem for a fraction of the cost. Cheap parts destined to fail often can be placed easily with generic parts that last longer for less money. When searching for appliance parts you need to take a few minutes to figure out the parts name and appliance model #. Apply those variables to your search for more accurate results.
|
The Lighter Side of DIYThe brightest isle of home depot is one of my favorite and there's no deficiency of lights to choose from. This DIY improvement instantly updates a room or deck. Track, security, motion, fluorescent, LED, halogen, low wattage, solar, and the list continues. If you can turn off your power at the breaker box, and twist two wires, you are half way to changing out your first light fixture. Sometimes you have to check the weight limits of the fixture you are hanging, but in most cases you will start with disconnecting the power. Try turning the light on to make sure it’s off, because most breakers are poorly marked and some lights are not on the same breaker that controls the rest of a room. Unscrew the base, twist apart the black, white and ground wire. Take the new fixture and mounting plate provided and make sure it will secure to the existing fixture before wiring the light. Once you secure the light to the wall connect your wires. Usually black and white wires, but some are smooth and ridged wires to mess with you. Sometimes these are a little hard to tell apart, but if you run your fingers side to side around the wire you will feel edges protruding. Fit the wires in space left, then before connecting the base, turn the power on to make sure your connections are right. Every light at my house has been replaced with updated Energy Star fixtures and fluorescent lighting which I feel provides great light for next to nothing. Lightsonline.com constantly has great sales and Amazon is a great place to find lights and those specialty bulbs that fit in them.
|
|
DIY Shades and Blinds Vertical blinds have become one of my favorite blinds, because they slide easy and they never get the dingy look of drapes or dusty slatted blinds. Unfortunately, they don't make vertical blinds that fit single windows. I have them over two double windows and my French doors in the back. These are put up with a level and six screws. You should measure the opening you need to cover as they come in different sizes and lengths. I have also trimmed the length down with a pair of utility scissors. Plus, if you want to change the look of a room, they sell replacement slats of many colors and textures that snap into the existing frame. You could spend anywhere from 50 to a hundred on vertical blinds as the cost seems to mainly depend on design.
Wood blinds cost a fortune, but faux wood blinds are around half the cost, have many colors and sizes without any imperfections in color or grain and now are offered with the larger slats that make wood blinds so attractive. Faux wood blinds weigh less and are easy to install once you get the hang of it. Again, make sure you have the right width and length you need before buying as they have too many sizes to list. With blinds there are two boxes that connect with four screws each. Your blinds slide into these holders and then you add a trim on the front with two plastic clips and you are done. You can adjust the overall length by removing extra slats, but unless you have way too many this isn’t necessary and adjust the pull cords length with the blinds down. Roman shades are in my bedroom with a decorative curtain across the top. They provide a nice filtered light in the morning and are the least expensive of all while looking great. Only complaint is the ring system on the back designed to release if someone gets caught in the cord. These rings separate with ease if there's any resistance while lifting them up. I almost never move them, because you can see through them in daylight which is a plus. They install like blinds and have many varieties that can cover large windows or openings. Check these out on Amazon or Select Blinds offering discounts and FREE SHIPPING. Shades come in many colors and textures and are perfect beginner DIY improvements that only require a small investment. |
|
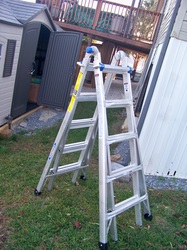
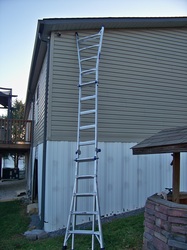
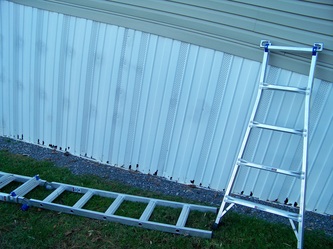
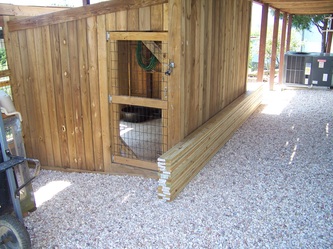
DIY Care Free Carports Cost LessThe best choice I made for my home was our first carport. These carefree DIY home improvements are easy to assemble or can be assembled for you. Carports are sold by retailers and all over for a reasonable price with too many accessories and options to list. I would recommend getting a ten foot high carport unless you have a really small car, because unless you park directly in the middle of a five foot carport you are always too close to the top and the doors hit the sheet metal. Besides for a DIYer like myself, I never know what is going to be in the back of my truck. It’s nice to be able to stand up in the truck and unload it, wash it or throw the fifty bags of mulch and dirt out. If you have a five foot carport, it’s not extremely difficult to add extensions to the sides. You have to find the right type of carport legs, and then disassemble the carport in steps making note of which panel and leg is which. Otherwise, none of the holes will line up and you will end up with missed screws or extra holes. Taller carports provide excellent shade and protection for vehicles and a nice work area out of the sun. This process mostly involves heavy lifting, a good drill ( adjust your torque lower to start), and a good working ladder. I used a Werner Telescoping Multi-Ladder and I love it. It easily becomes two ladders to lay a board across and work on, can adjust both sides seperately for hills, wide base is really stable and reaches the top of most houses if needed. Amazon sells this ladder cheaper than the store with FREE SHIPPING, NO TAX and many carports at a great price. Have it delivered to your door.
|
|
|
|
|
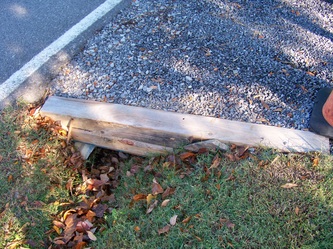
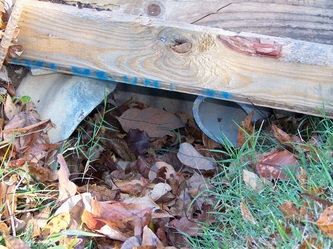
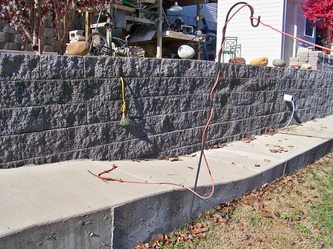
DIY Ditch FixAfter putting up this carport, I needed a way to keep the gravel in place. Over time the edge started to drop and the gravel was washing away with each rain, plus the turn was a little tight for most cars with the ten foot drop across the street. I raised and extended the side of the driveway by pouring Quickcrete, an item I pick up frequently now along with dirt and mulch from Home Depot and Lowe's. I added a piece of 6" pipe inside the existing drain and held it in place with a couple of screws that won't rust. I fitted a piece of plywood to the opening, making small cuts with a reciprocating saw (sawzall) until it was tight. One end fitted the width of the ditch and the other lay over the pipe after pulling the existing rock back. I used 3” deck screws and drilled the plywood to a 6x6 post that I also cut to fit the length of the opening. Once secure and in place, I hammered rebar into the ground on both ends of the fix to make sure it didn’t move. I mixed six 80# bags of Quickcrete leaving it thick. Only add small amounts of water once you mostly have it mixed. Thicker is always better than runny. It’s good to have an extra bag on hand when you first start mixing concrete that way you can thicken it up. Concrete doesn’t go very far. It always takes more than I think and you have to reach the minimum thickness of the type of cement you are using is. Last, I smoothed the concrete out and pushed rebar in the concrete for strength, then sprinkled gravel over the wet concrete to add texture and help hold the new rock in place. I later had gravel dropped off to cover the bottom rails of the carport and even out the rock.
|
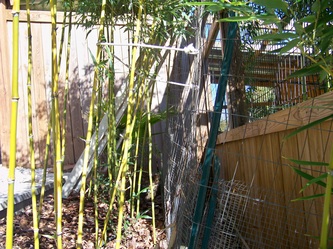
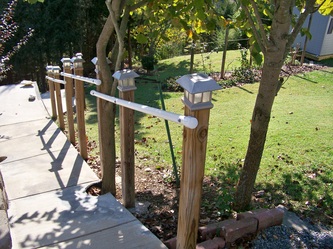
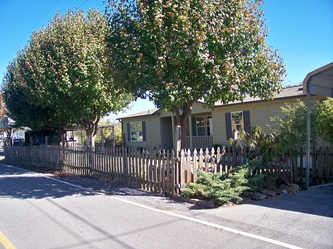
DIY Handrails and FencesFences and rails are great home improvements for anyone with kids, pets and disabilities (everyone). The main two ingredients needed for these DIY home improvements are labor and cement. It might take some time to get the hang of leveling post and measuring the distance needed between the post but the privacy and look of a fence help homeowners feel secure and keeps people and property safer. I have put up many fences, mainly weld wire and panel, but they last a long time. I plan to cover the fence in front that has been there for many years with rolled bamboo fencing that comes in many sizes. I have bamboo everywhere, so this should make a nice addition. Rolled bamboo and reed fencing will last upwards of 20 years and is maintenance free. Amazon has many options for this fencing at low prices compared to competitors.
|
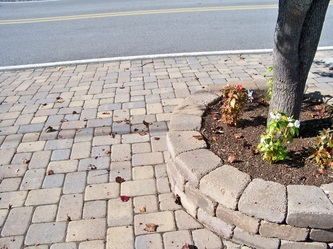
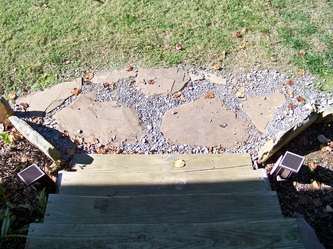
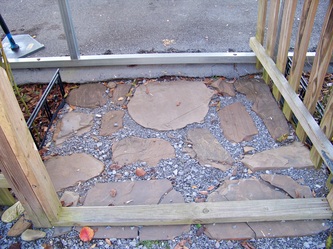
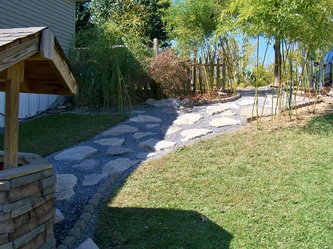
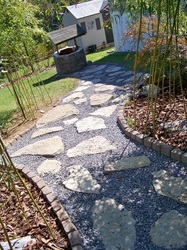
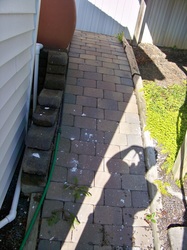
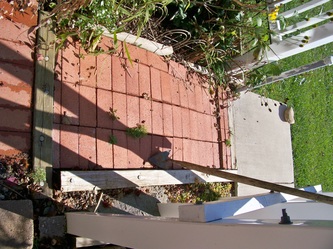
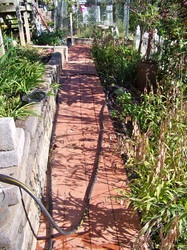
DIY Stone, Brick, and Paver Pathways and DrivesDIY pathways can be done in many materials and sizes and over any amount of time. Start one week and finish the next. Pathways are a DIY home improvement that most people are capable of doing with some heavy lifting, time, and patience. Pathways and drives are also a forgiving DIY improvement that will last a long time and can be changed, moved or improved as you improve your own DIY skills along the way. In addition to labor, the hardest part of pathways is setting a level foundation to work on. There are a couple of ways to do this, but for best results plan ahead. Do a rough layout of the stone path. Remove the old sod about four inches deep (more if there is poor drainage), lay 2 inchs rock covered by 2 inches of construction sand and tamp with a trowel to remove air pockets. Have a level and extra bags of sand nearby to fill any dips and keep the pavers level. The pavers should be about an inch above the ground (if more you will need a border to keep in in place with ground stakes). Finally, fill in the spaces completely with DRY sand using a broom. Don't rush this, because it keeps settling. Once filled, wash and seal the path if you like. Sealing keeps the sand in place, prevents weeds and prolongs the paths life.
|
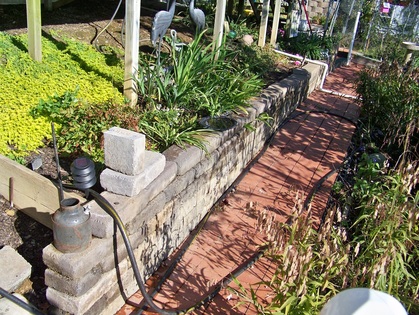
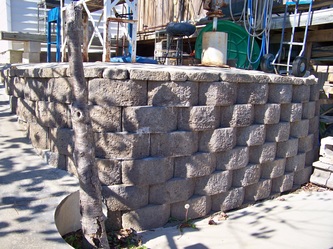
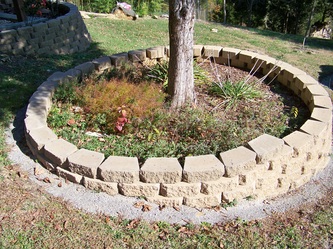
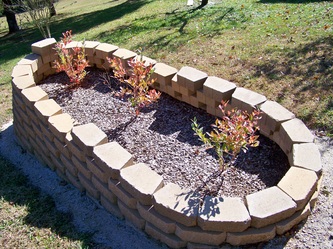
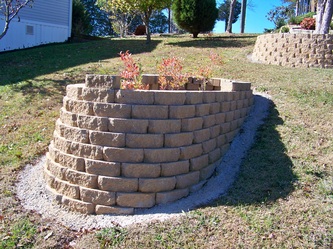
DIY Rock Walkway and Raised Flower BedsMaking the river rock walkway underneath my house wasn't a home improvement I planned to do. Like most of my home improvements, I had an original plan that was rather small and decided while in the process that now would be the time to do it right and complete the entire area, so it was back to the drawing board. This took me several weeks, mainly to haul rock, wall block and to remove the existing mud and rock. Originally, my plan was to put rock in front of my cage door and to dry up the area around the heat pump. During a hot summer, even set low/high there was so much condensation running from the heat pump that it was constantly muddy from the downward slope of the yard. Also, it's the shorter route to the Canadian Lynx cage. This home improvement cost me around $2200, but the improved look and function on the house is double. Paying someone to do this would have been upwards of $6000. It's hard to add up the amount of labor I put in. If I were to do this for someone, I couldn't price it below $5000 and be happy. Not a beginner DIY, this took many days and lots of different (but basic) DIY skills. Also, I needed an arsenal of tools at my disposal. First, I completely removed everything and graded the ground to a desirable, mostly level area to work. Decided on boundaries and the best way to make the cuts work without wasting lumber. Screws in and cemented my post for the frame. Laid out sand and additional cement in front of the heat pump to help keep it dry, then filled with rock and bordered it with cement blocks that I could adhere my pavers to. This is my favorite DIY home improvement thus far.
|
How To Build A New Home & Save Thousands. A Step-by-step Guide To Building A Home With No Experience.
Click Here!
New House Plans, Kitchen Design, Bathroom Designs, Bedroom Designs To Help The Home Owner With Building A New Home Or Home Improvement
Click Here!
|


