DIY River Rock Pathway with Low Wattage Lights and Raised Flower Beds
for under $2300
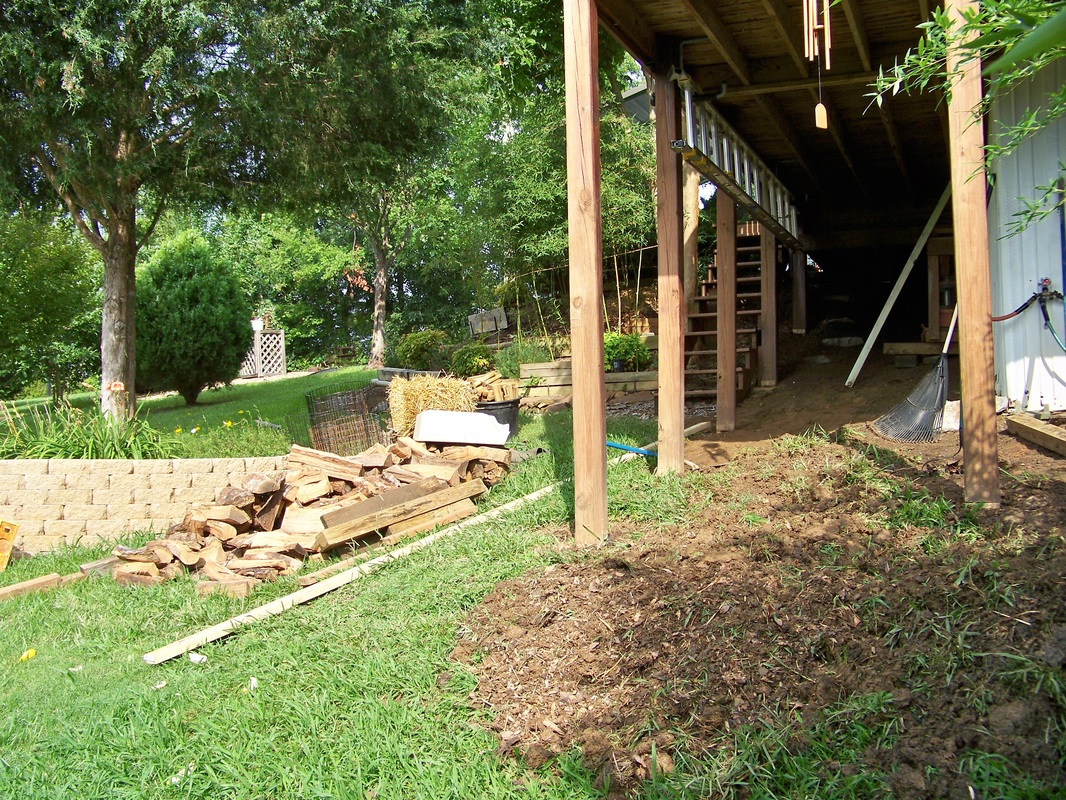
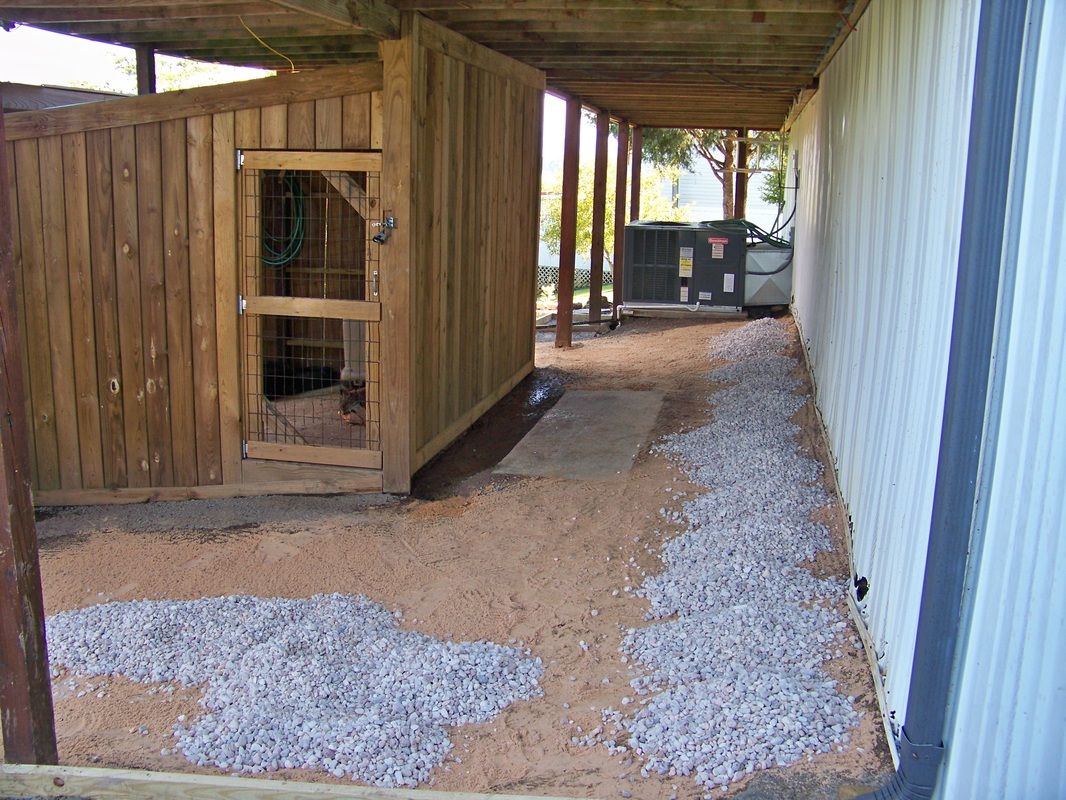
Behind our house was a breeding ground for bugs and a muddy walk in the
slightest rain. Because our double-wide is sitting on rock the company that set
it up did not dig deep septic lines and skimped in many areas. After years of
erosion and wretched landscaping, septic lines were being revealed and
"dirty water" stayed close to the surface. I made improvements to
help like pouring a concrete pad in our large lynx cage and along the walk, but
it was time for something better.
I originally planned on putting river rock over the area we traveled most,
but at $3.30 a bag for river rock I decided to make it superior. Not realizing
how much material was needed I made several trips to Home Depot and Lowe's over
the week. It took several truck loads at capacity plus additional trips for
extras to get all the supplies. I started without a budget in mind, but
hopefully this gives you an idea of your total project cost.
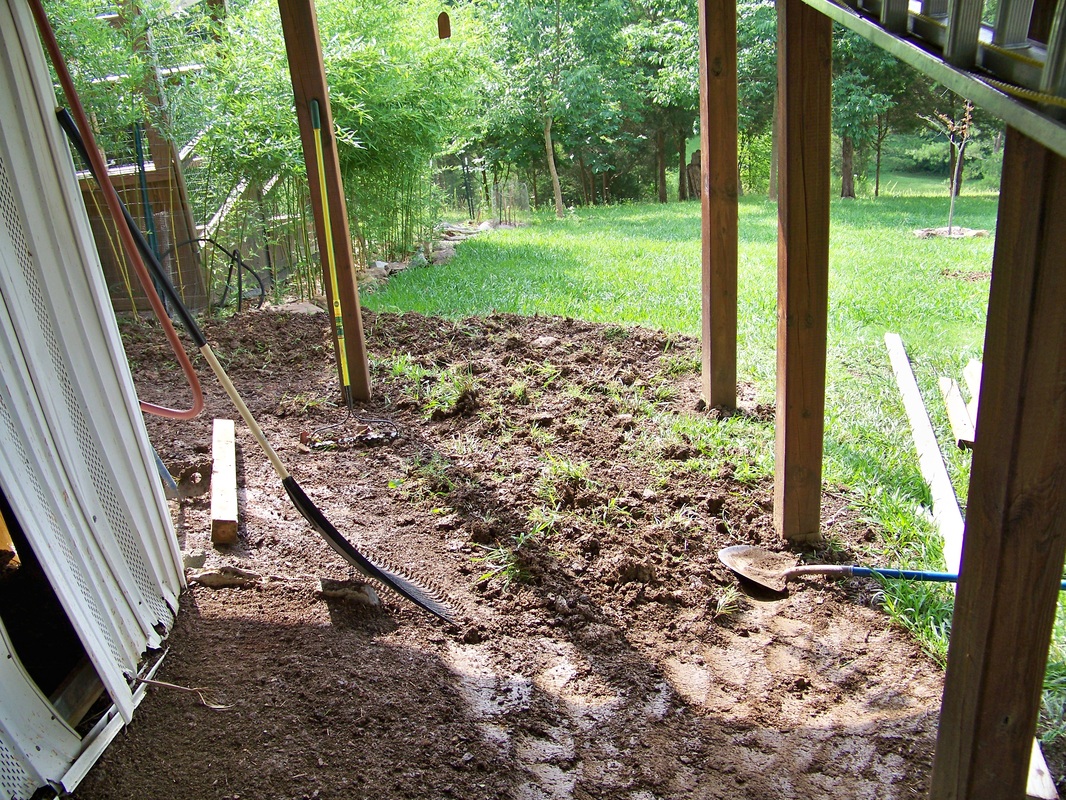
I began by grading a foot of rock and mud from the area to be covered,
moving the dirt to the lowest point where I planned to put a raised flower bed.
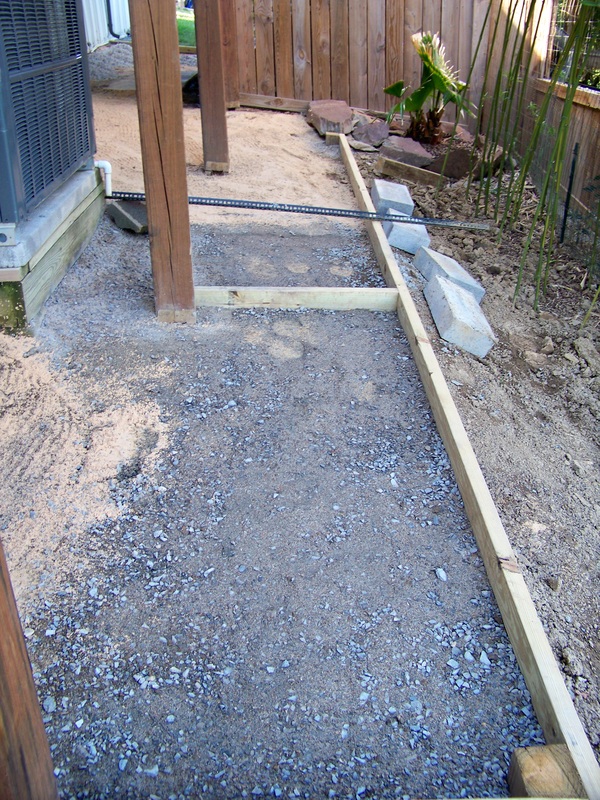
This took time because I did everything by hand. Next, I bought 30 bags of all
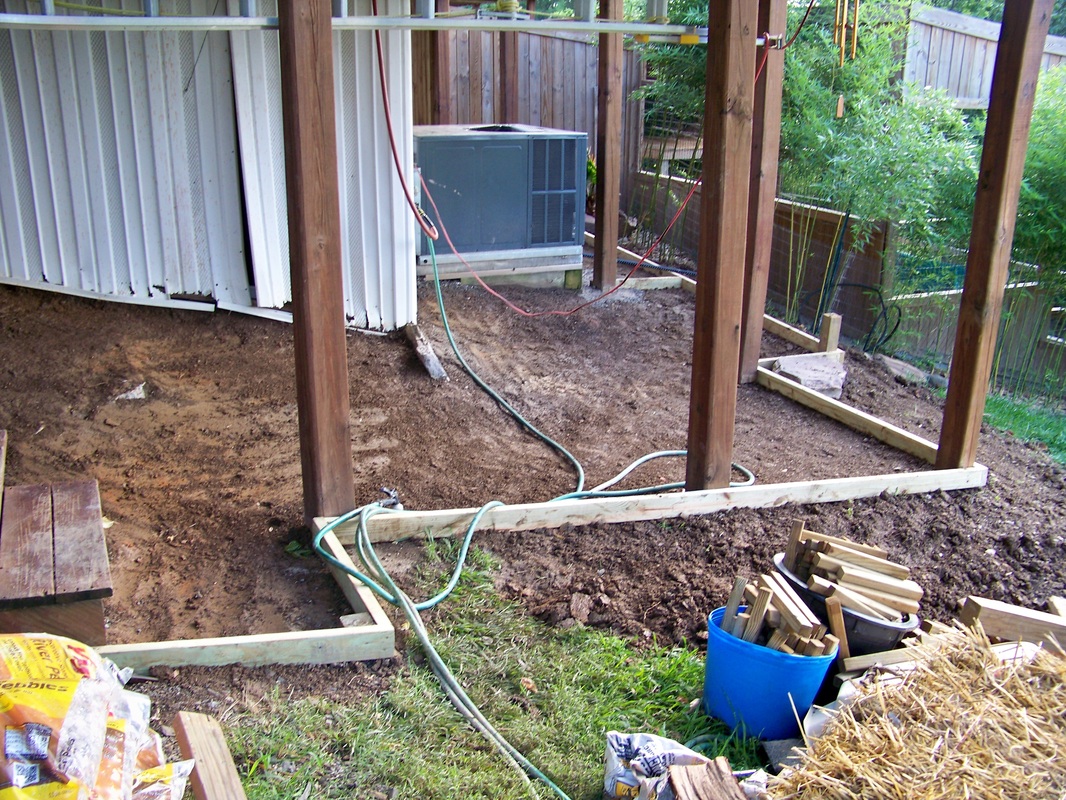
purpose sand and 20 80# bags of cement (could have used more), and some 2x4's
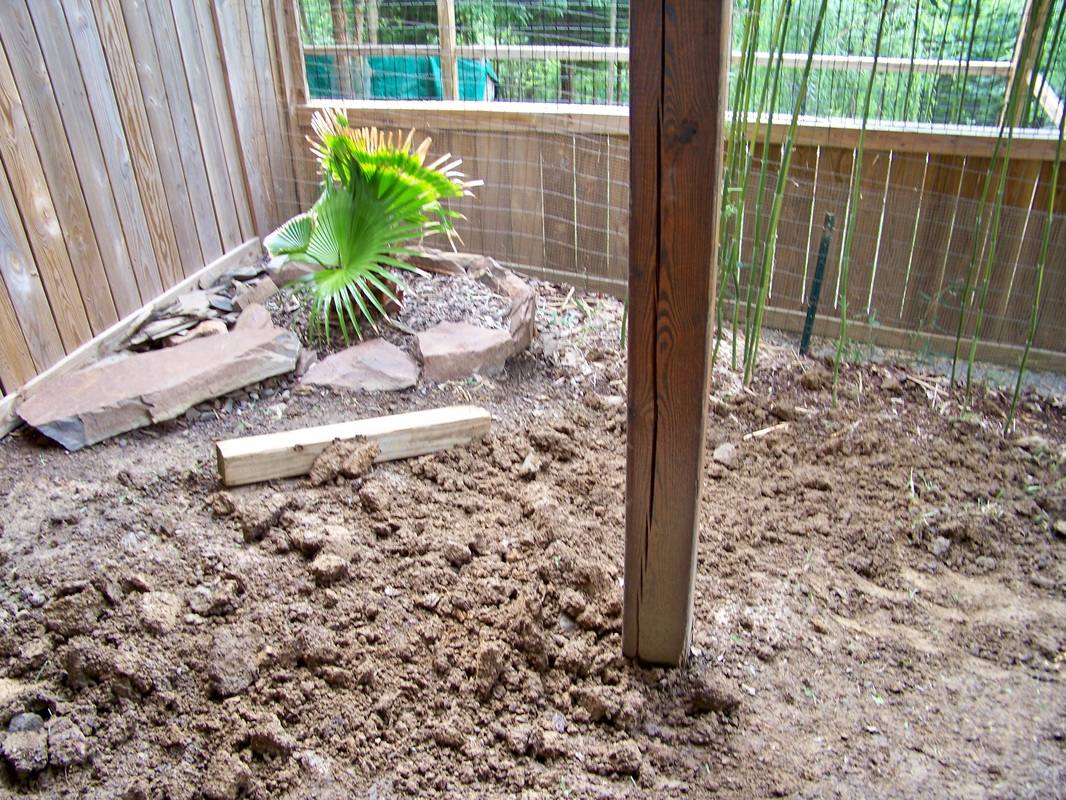
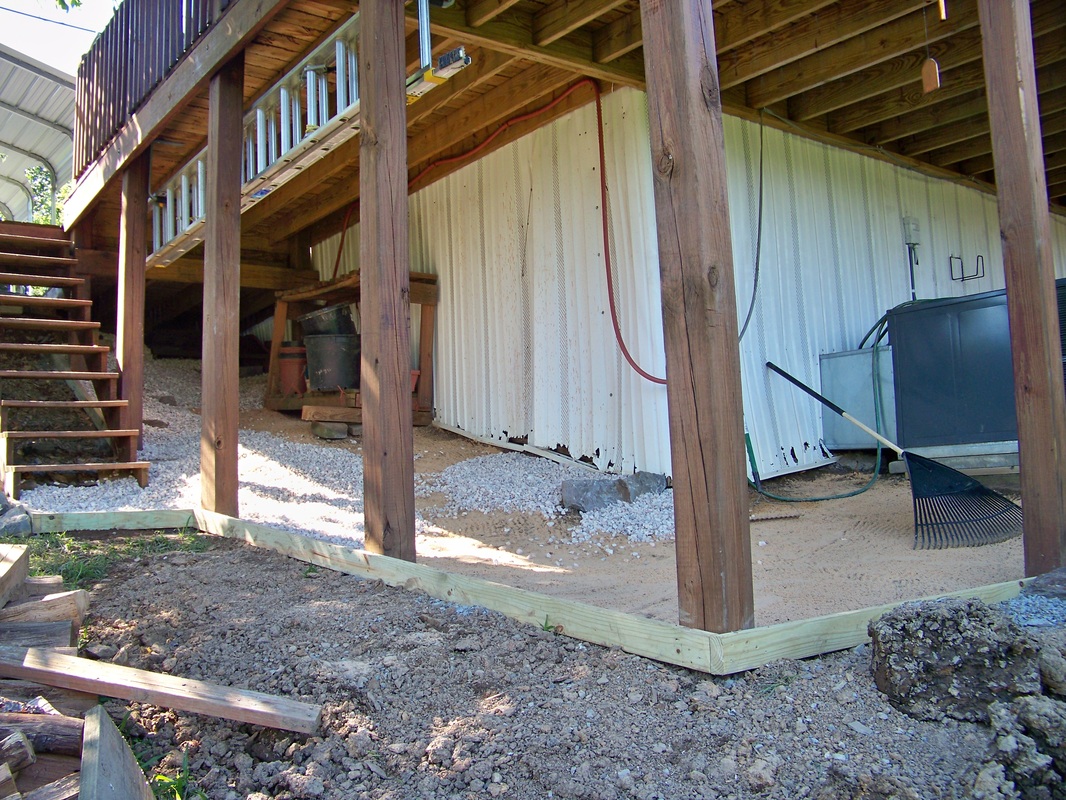
and 4x4 post. I used 2x4s for framing and cemented in post to hold up the areas
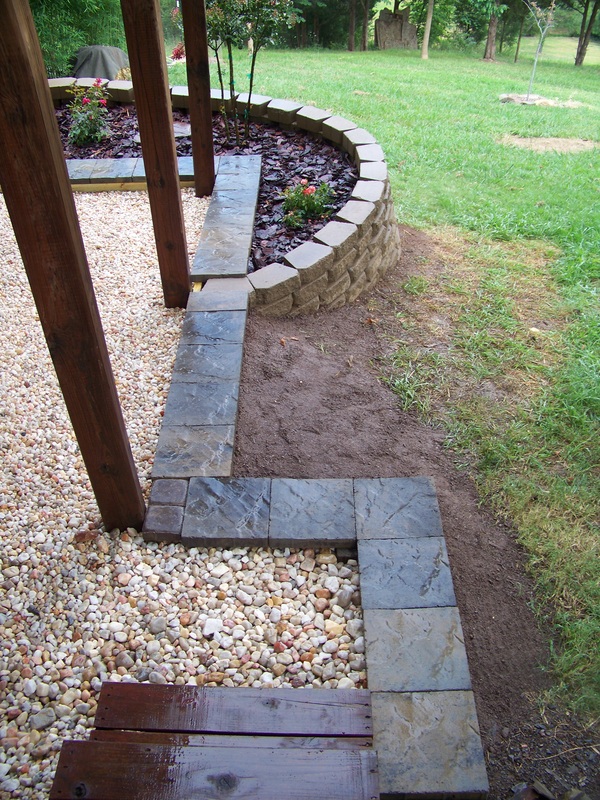
needing to be raised. I put cement around the porch legs to keep off moisture.
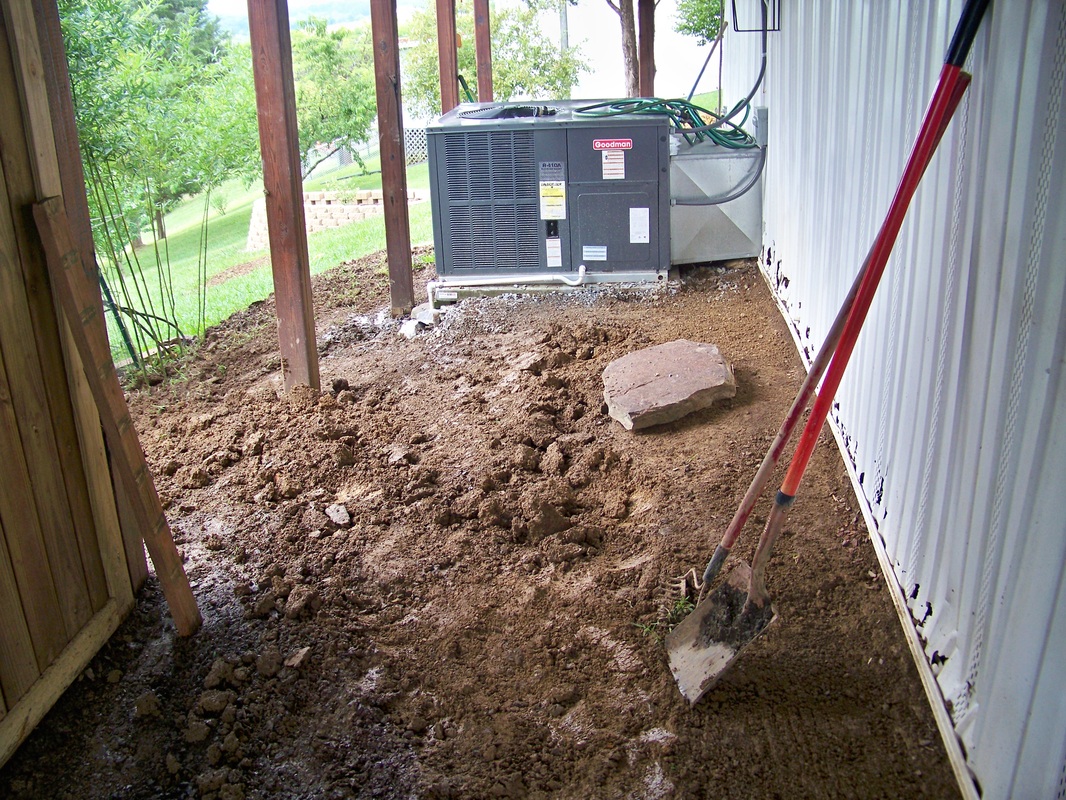
In front of the air conditioner (a constant source of mud),I cemented the full
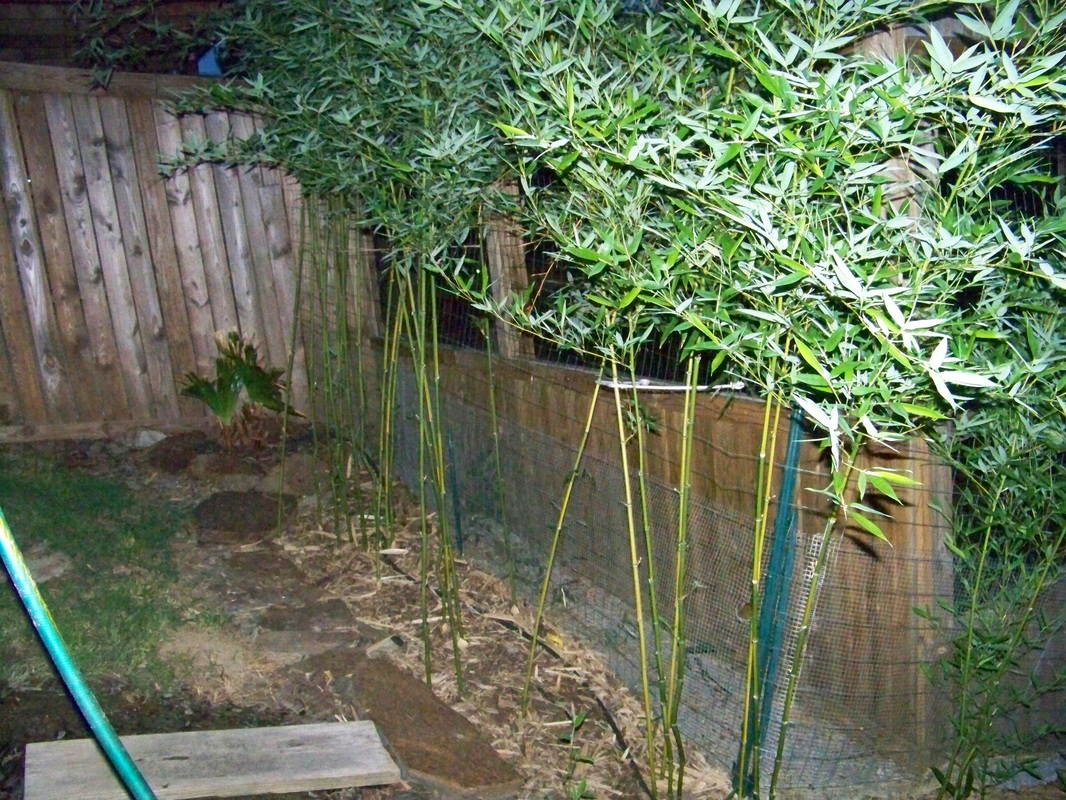
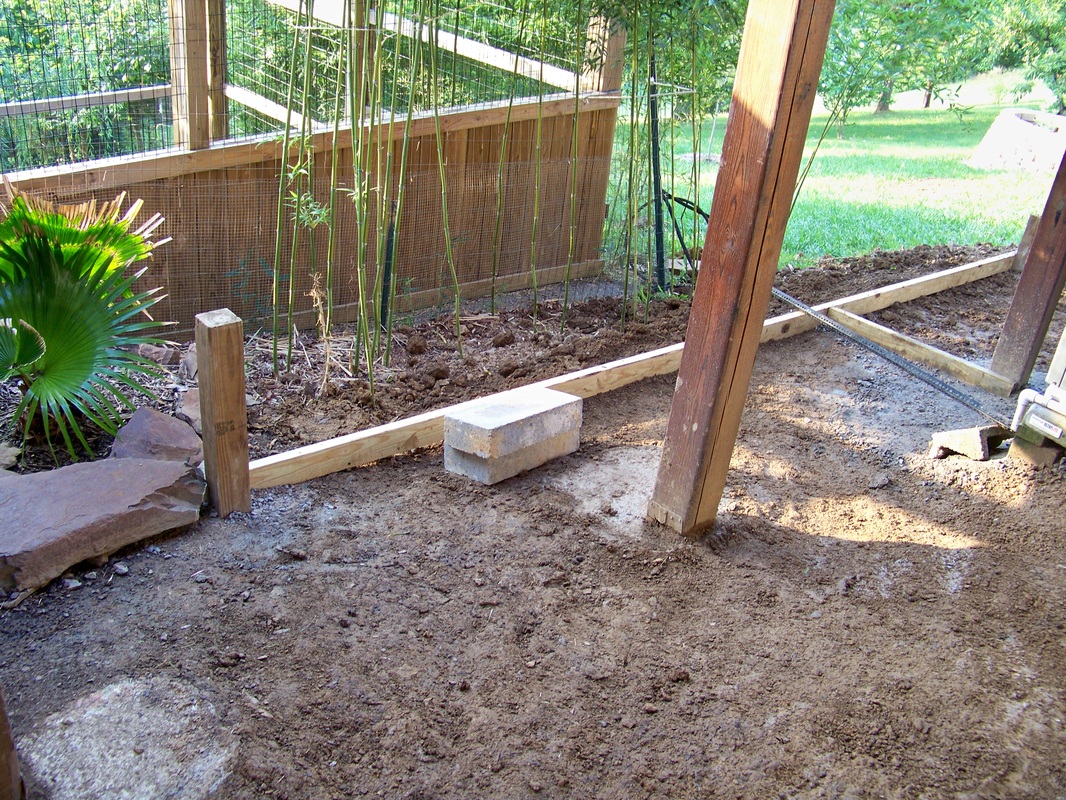
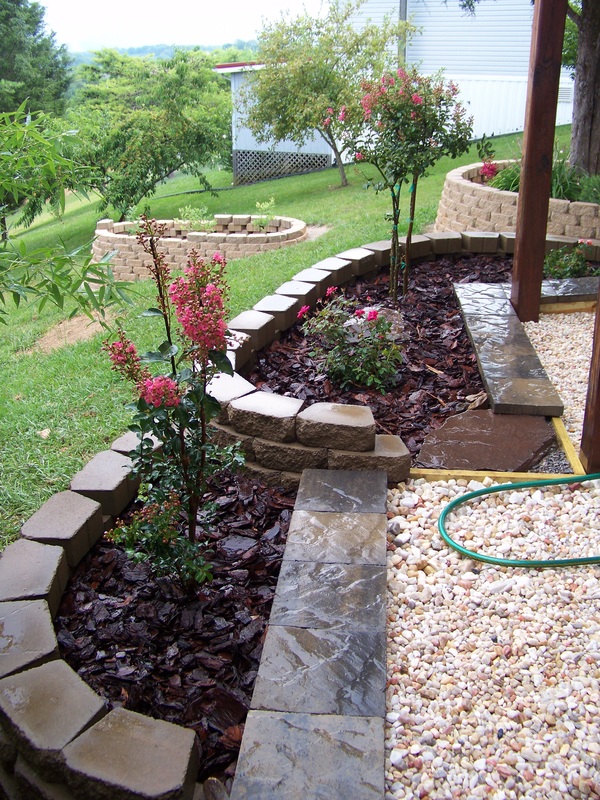
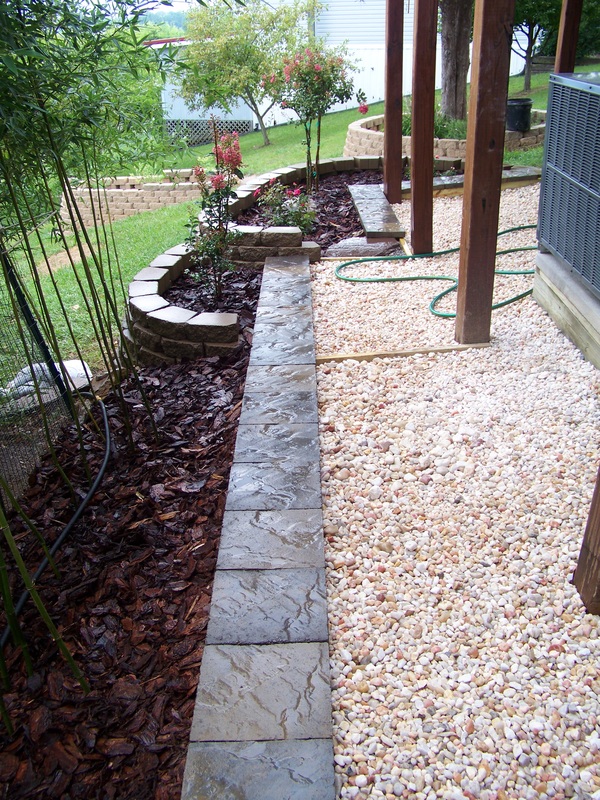
square with holes for drainage. Along the cage we have bamboo, which I also
tried to contain by cementing along the flower bed. After framing, setting
post, laying sand and letting cement dry (1 day), I started to add river rock.
I mixed larger pond pebbles along the sides, because they were less likely to
get kicked out.
I ended up buying around 250 bags of rock. These may be delivered for less,
but with everything being downhill with little access, the bags were easier to
carry in my situation. After pouring rock, I leveled out the garden wall around
the back and side to ground level, back-filled with topsoil, planted Crape
Myrtles and Knockout/ Veranda roses and mulched.
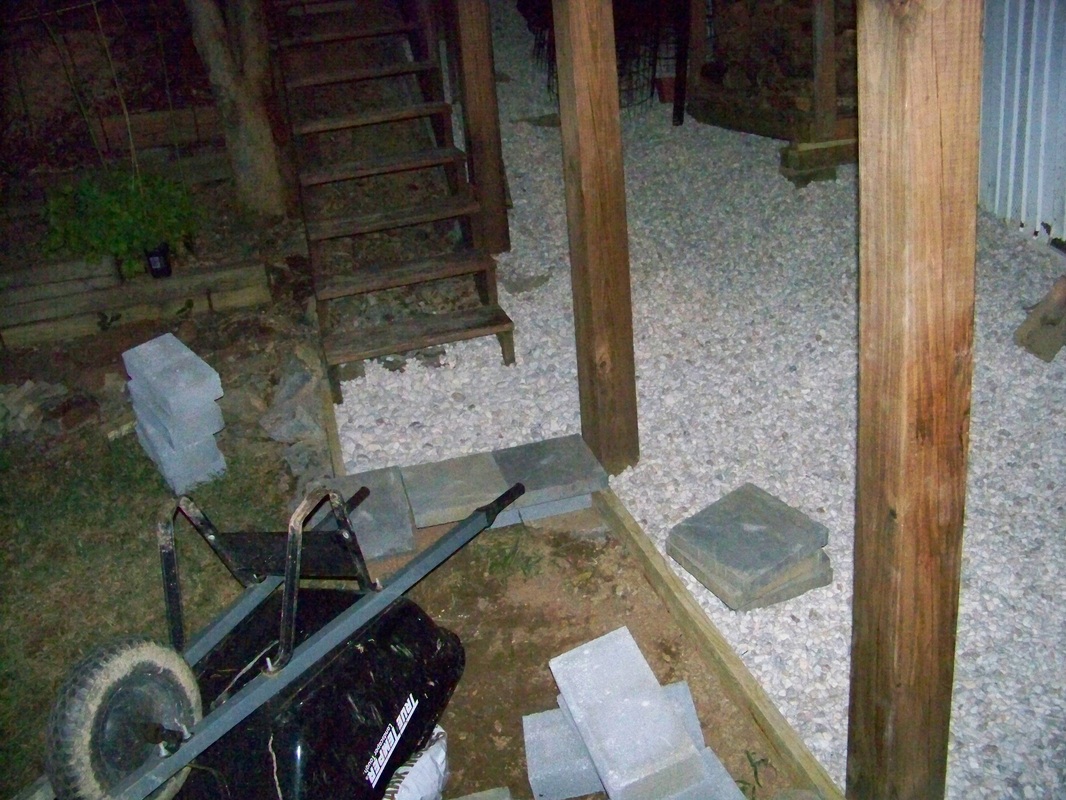
I didn't like the boards showing, so I covered them with attractive pavers
that accented the various rock exterior. To achieve a flat walk with the
pavers, I ran solid concrete blocks along the boards on the outside and used
heavy duty construction adhesive to hold them in place (after dry fitting and
making sure it looked acceptable).
For an even better look at night, I wired six low wattage lights. They are
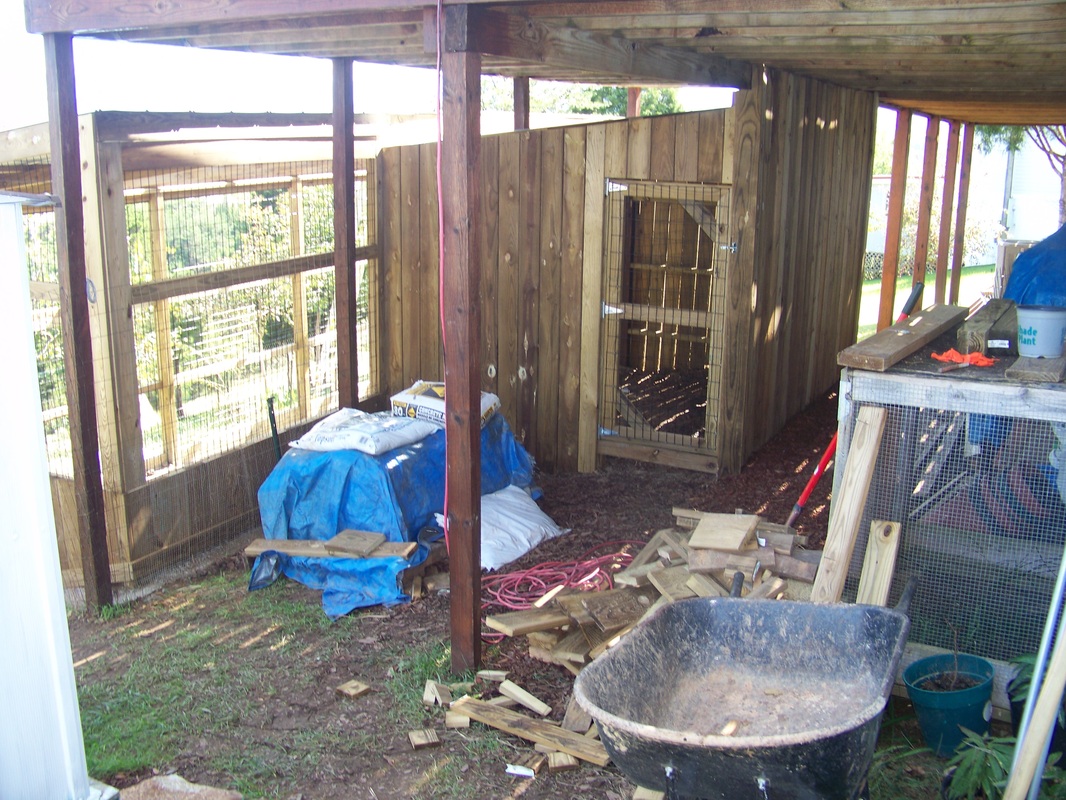
not designed to hang down, but seem to work fine. Later we added stairs off the
deck that go to the cage door, so now we can make a full circle to our new
Lifetime shed, feed the lynx and back to the house without ever touching mud
even in the rain.
This DIY improvement greatly increased the beauty, function and equity in
our home for a relatively low cost and helped with the bugs. In total I spent
about a week completing the job and around $2300 not including gas and
miscellaneous items. Good luck with all of your DIY home improvements.
My inventory and cost were as follows (doing all labor)
30 Pavers = $120 (depending on style)
20 Solid 16x8x4 Concrete Block = $40
200 Buff Retaining Wall = $400 (1.88 each)
250 Bags River/ Pond rock = $1000
20 Bags Cement 80# = $100
Wood = $50 (2x4 and 4x4's)
30 Bags All-Purpose Sand = $130
30 Bags Topsoil = $60
4 Plants = $110 (larger Crape Myrtle most of cost)